Database
What is a Database?
Hexabase stores business data in a "database".
A "database" can display data in a table-like image. This "database" corresponds to an RDB table (1 database = 1 table). Hexabase is not a relational database (RDB), but allows for unique database associations.
Create a new database
Call create new database
- Switch the application for which you want to create a database
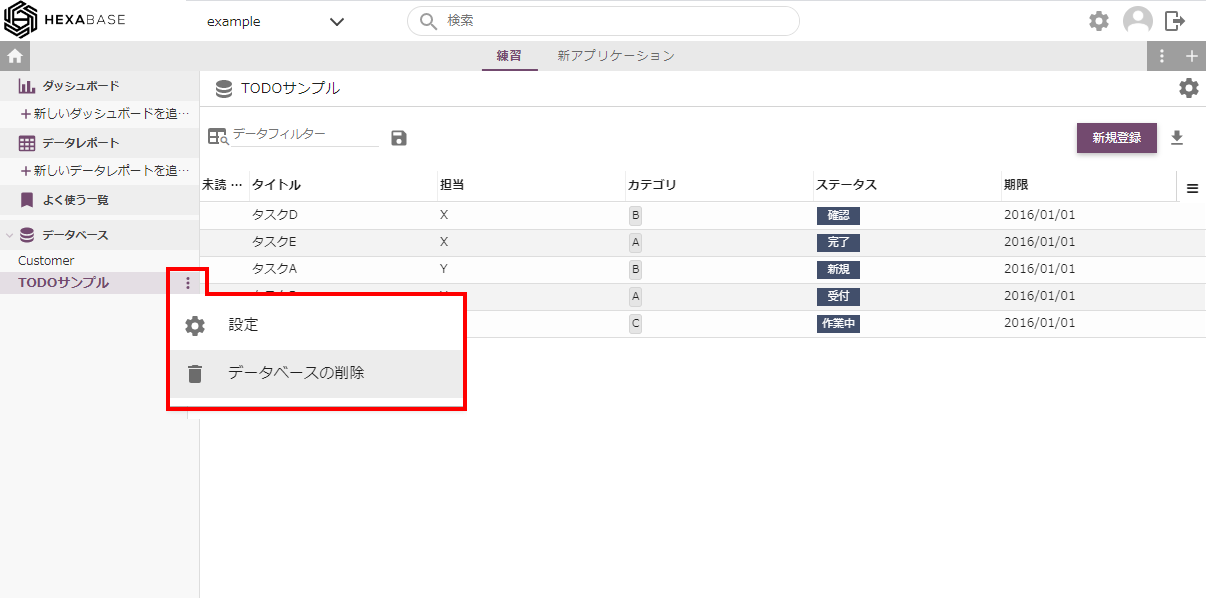
- Hover the mouse pointer over the database in the left menu and click the [ ⁝ ] button
- Select create a new database from the menu

- Create new database will be displayed

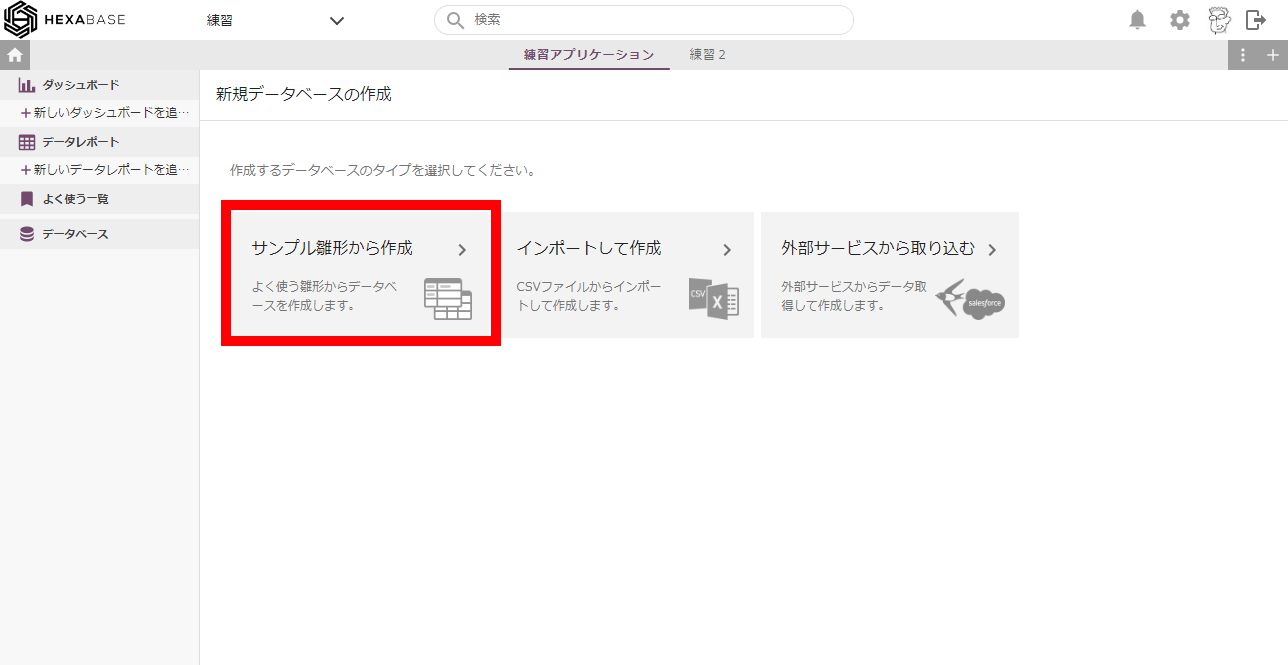
create from sample template
Create from sample template allows you to create a database from a default template.
- Click on create from sample template
- Select a template (e.g., TODO Management Sample) and click the add database button.
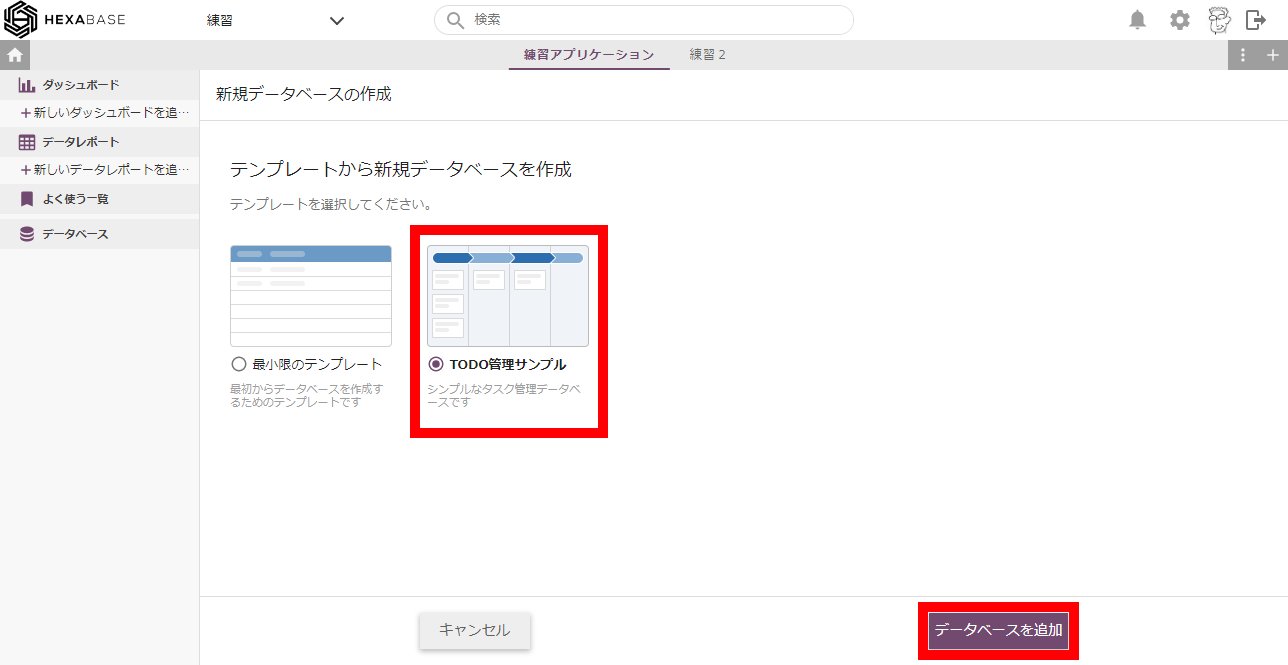
TODO Sample database will be created and TODO Sample ¥ will be added.
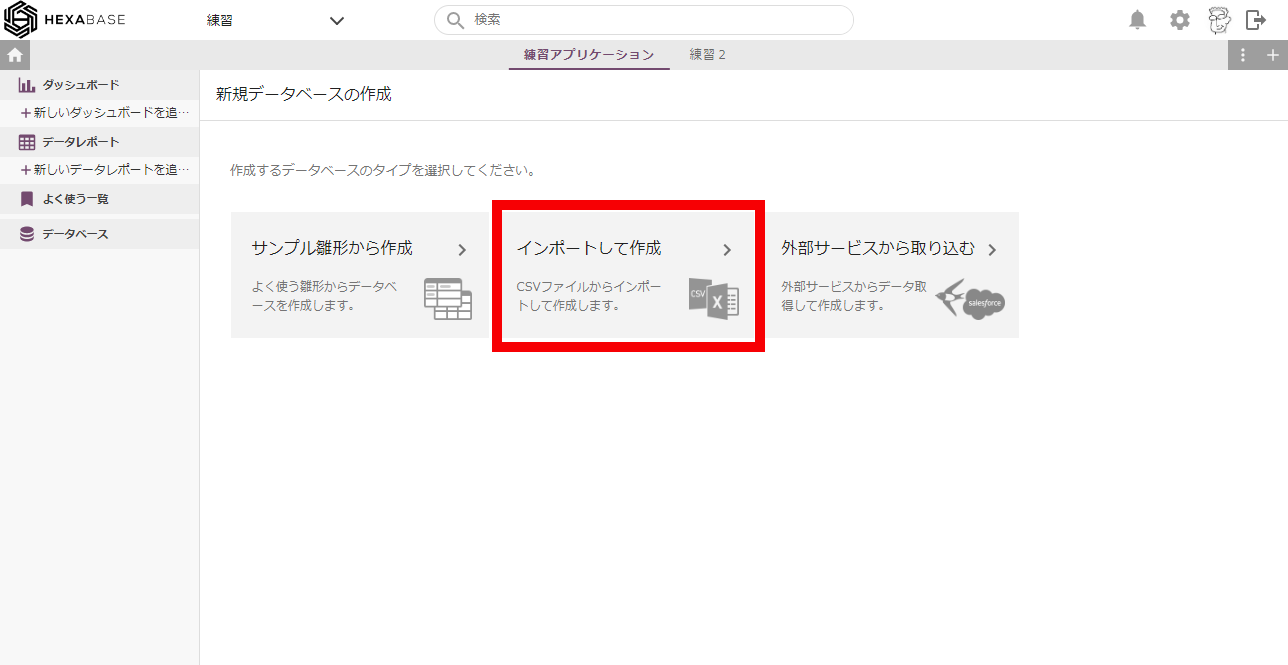
Import and create
To load data from an external file into Hexabase, import a CSV file. import and create allows you to import data in a wizard format.
※Only CSV files can be used for import. ※Sample file:customer.csv
- When the "create new database" page is called up, click "import and create
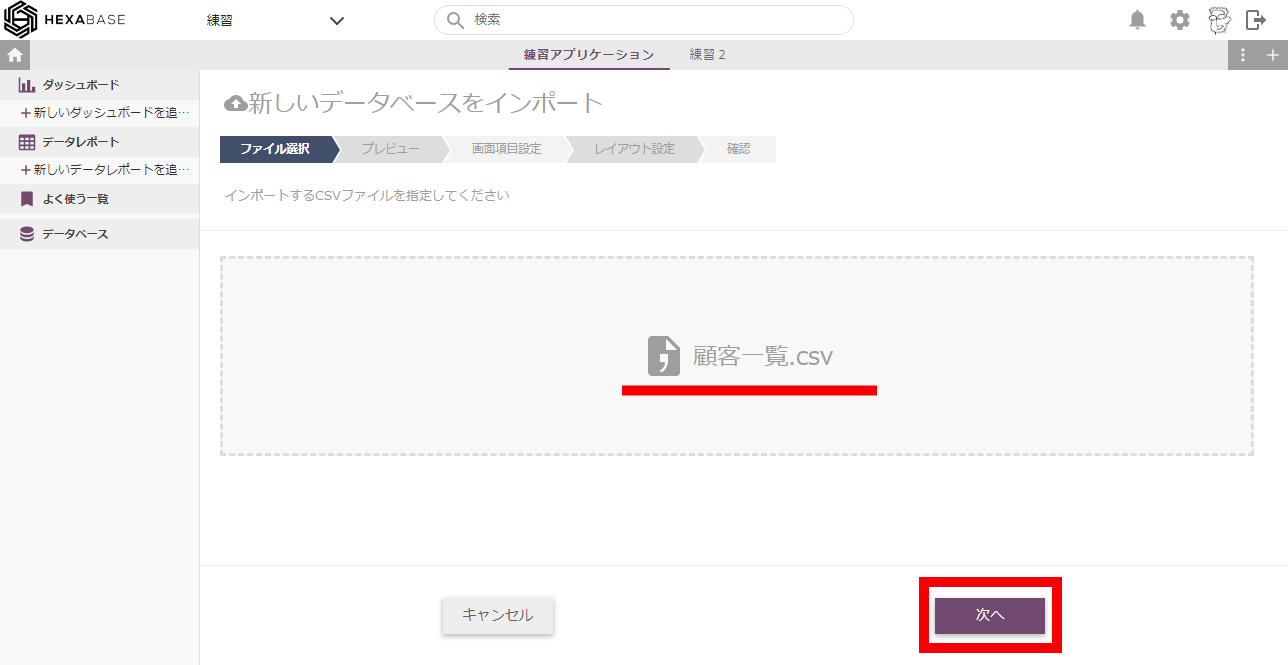
- Select the file to import(e.g., Customer list.csv)
- Once you have finished selecting files, click the next button
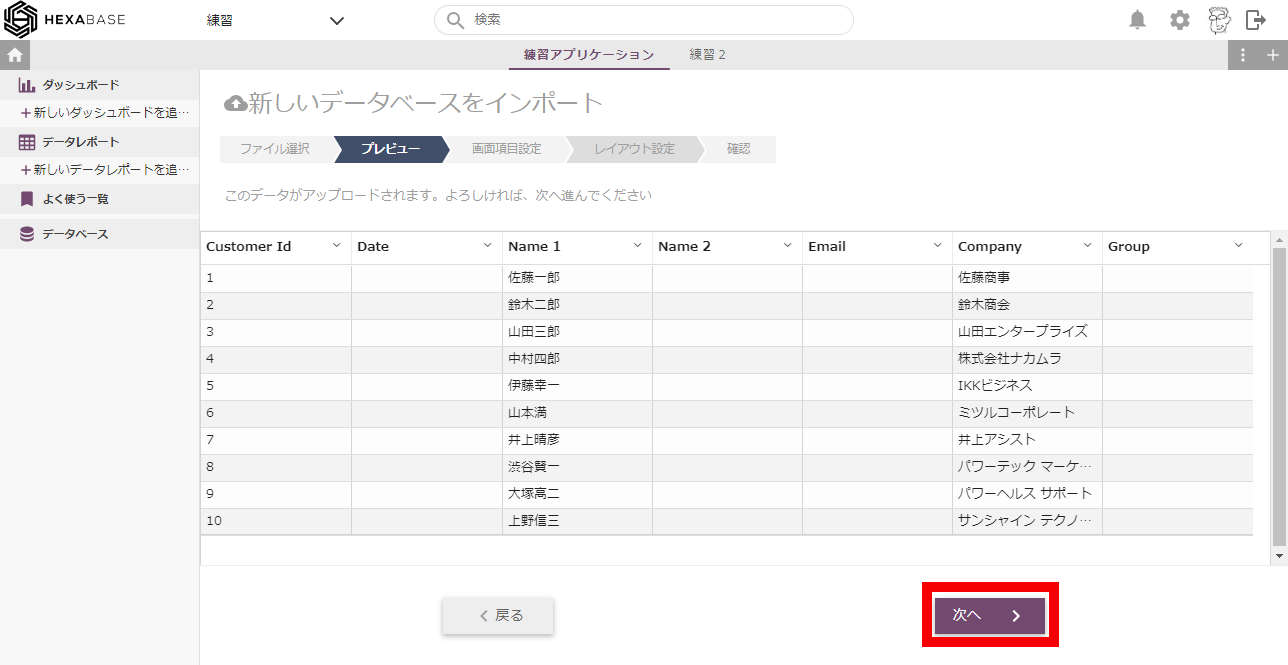
- On the preview page, check the data and click the next button
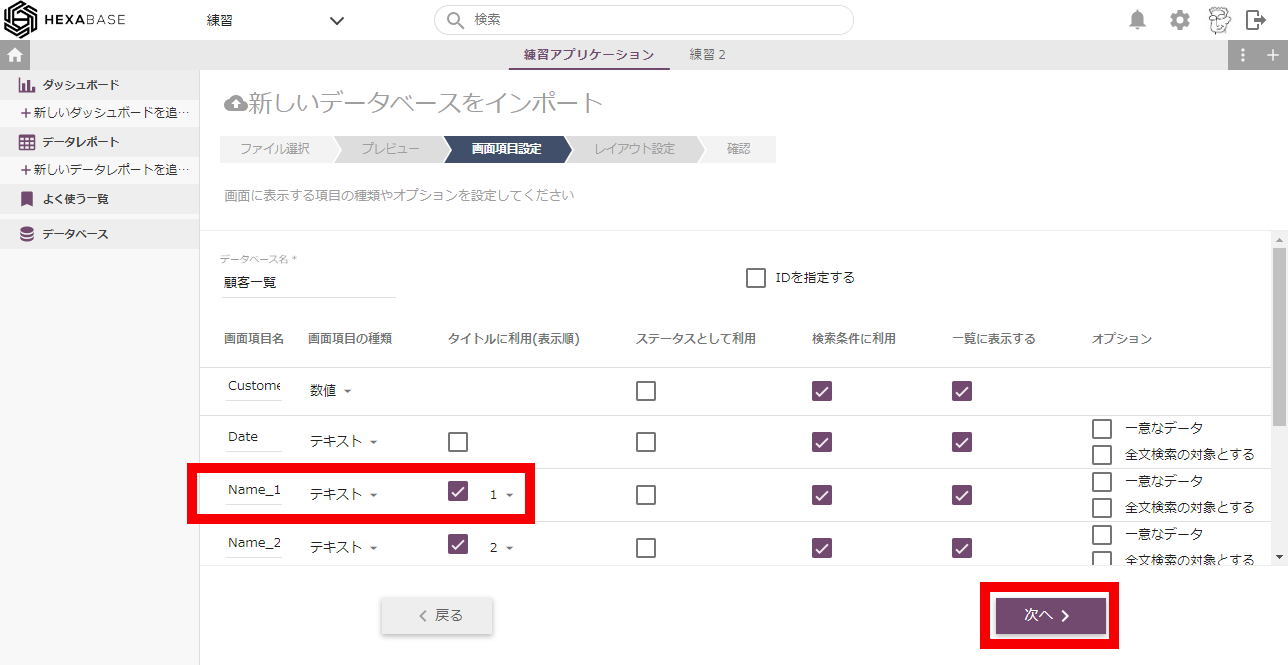
- On the display item setting page, select the type of data to import. At this time, always set one "text" type field. e.g.)
- In "name_1" select the text type.
- Check the CSE for title checkbox.
- Click on the next button
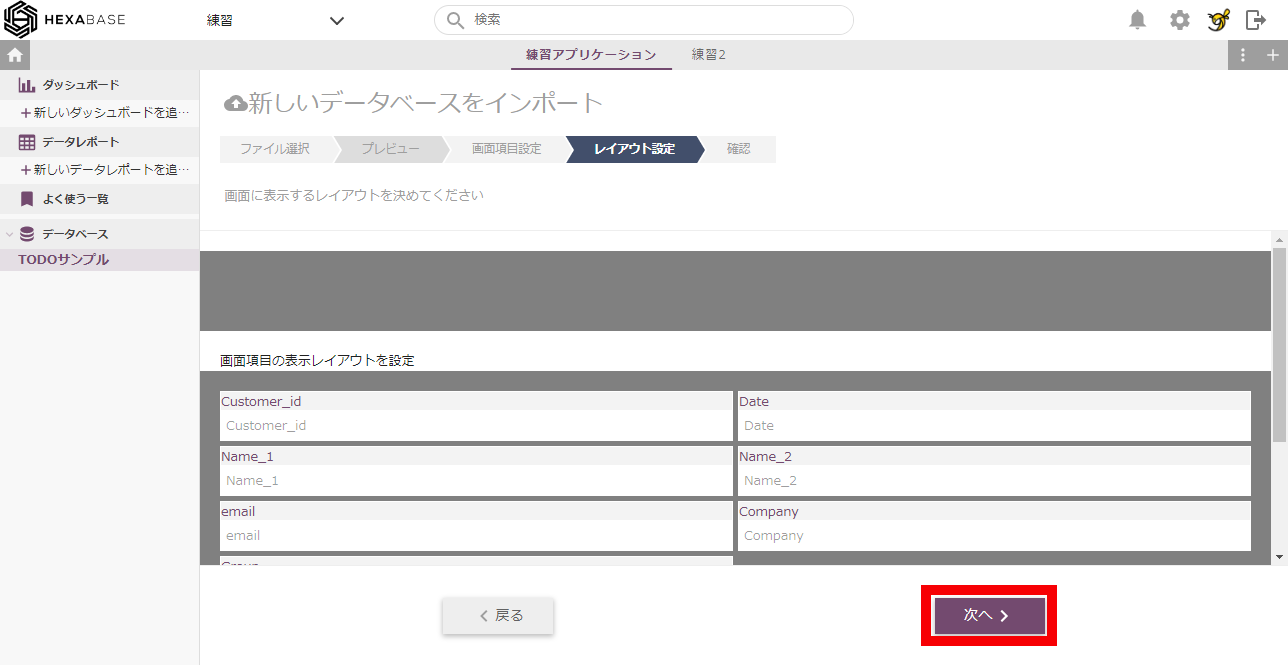
- Change the position of items on the layout settings page by dragging and dropping them. After setting the layout, click the next button
- On the confirmation page, click the start import button
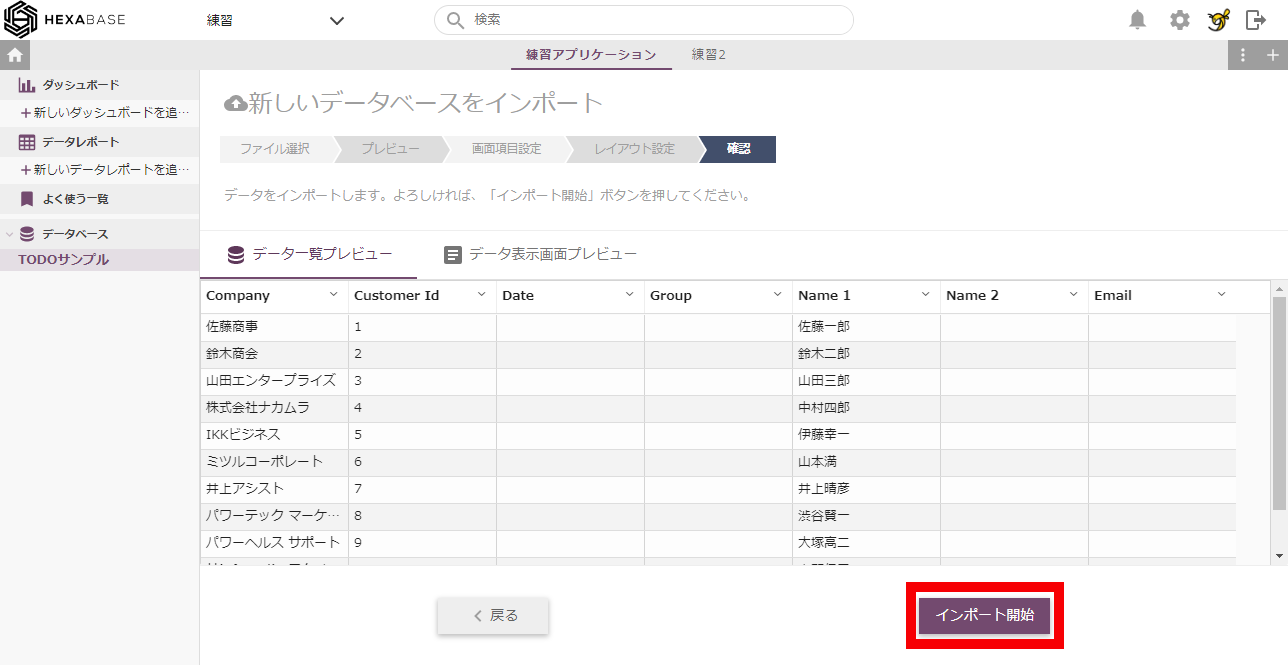
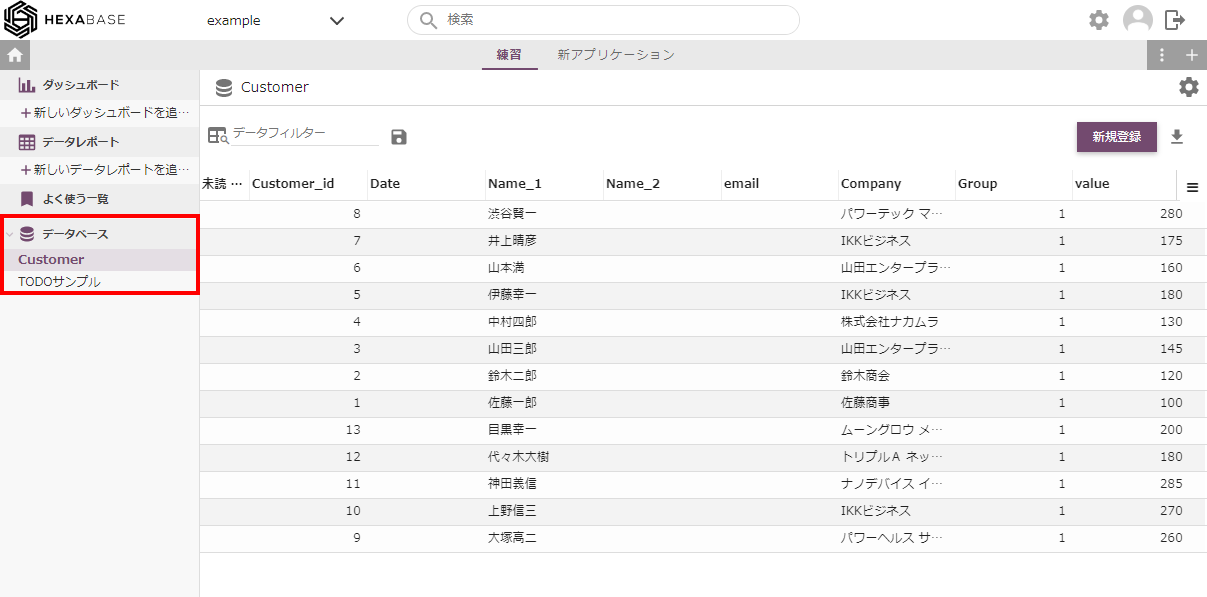
Now you have successfully imported data into your database
Import from external service
To import data from an external service into Hexabase, select import from external service.
※An external service account is required.
- After calling the create a new database page, click import from external service
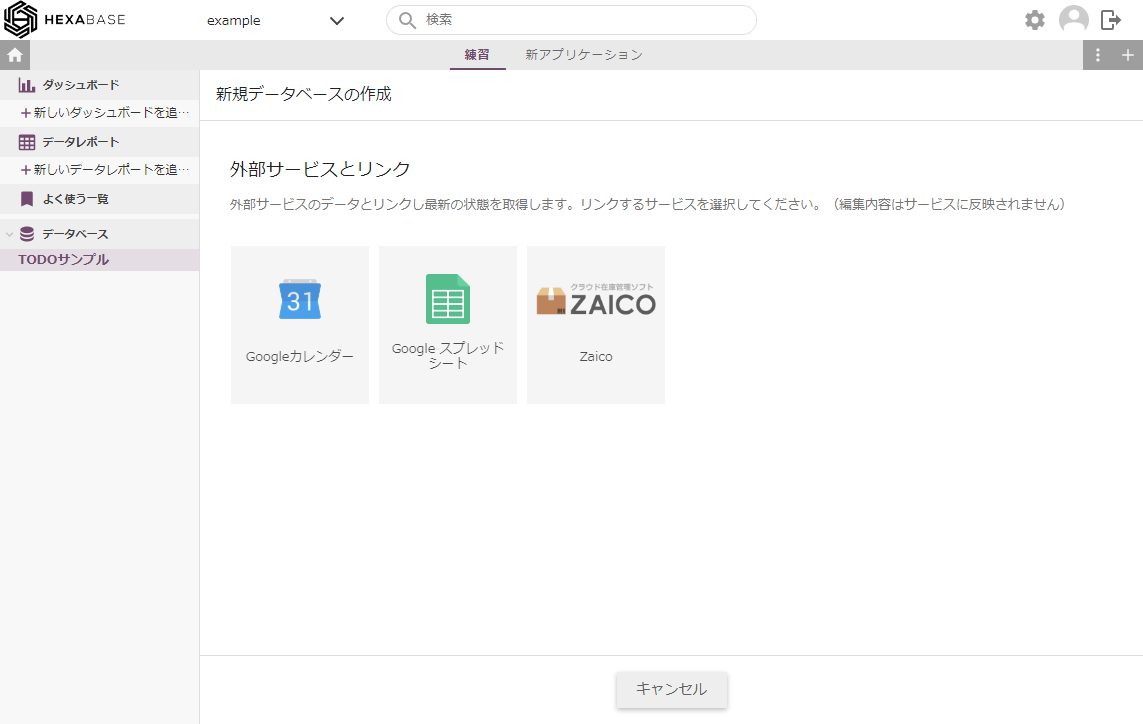
- Select the data you want to import from an external service (e.g., Google Spreadsheet)
- When the select sheet page is displayed, specify the sheet and range, and click the next button
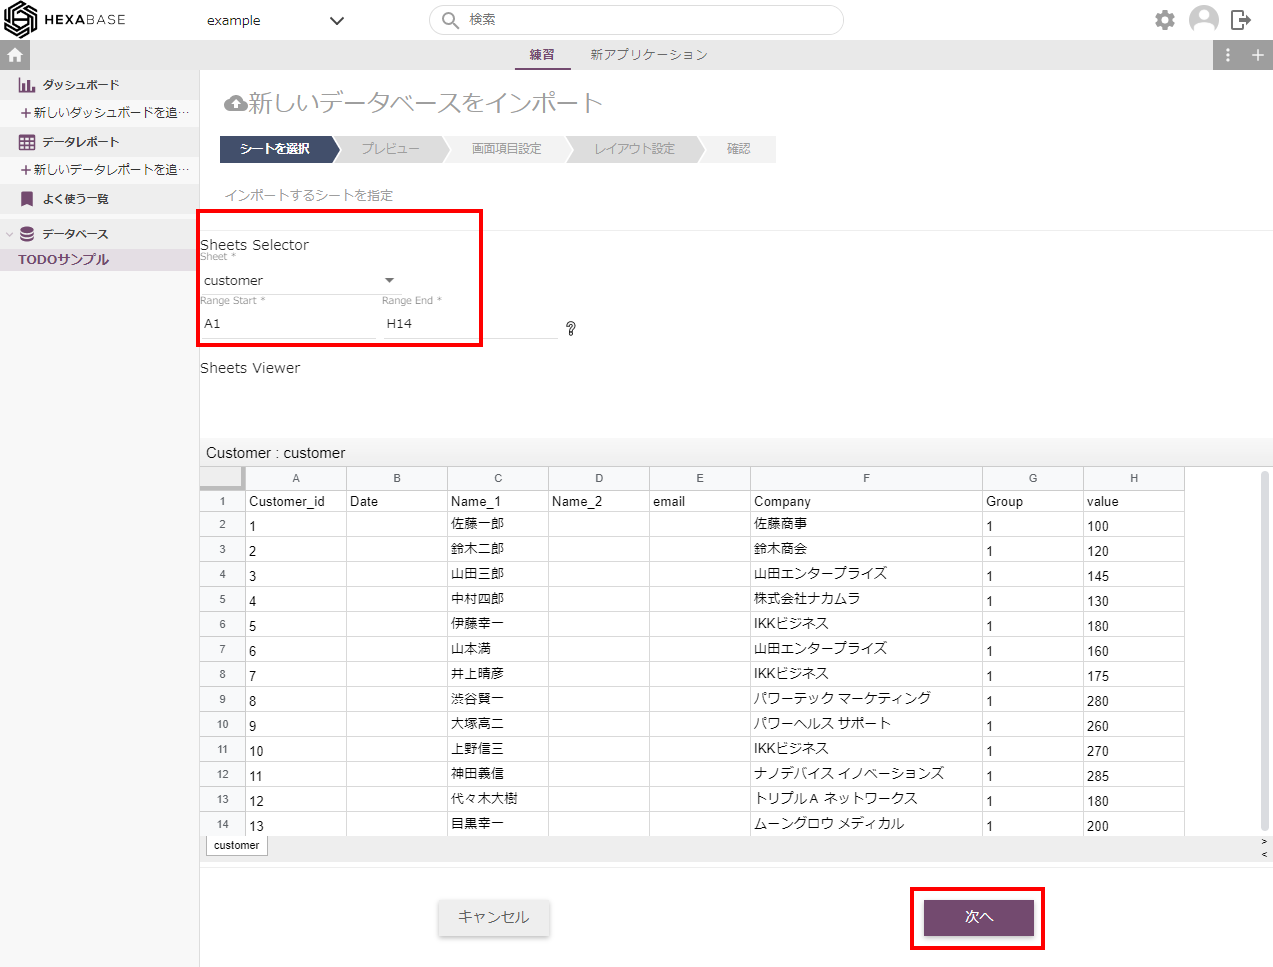
- On the preview page, check the data and click the next button
- On the display item setting page, select the type of data to import and click the next button.
- Change the position of items on the layout settings page by dragging and dropping them. After setting the layout, click the Next button
- On the confirmation page, click the start import button
Now you can import data into your database.
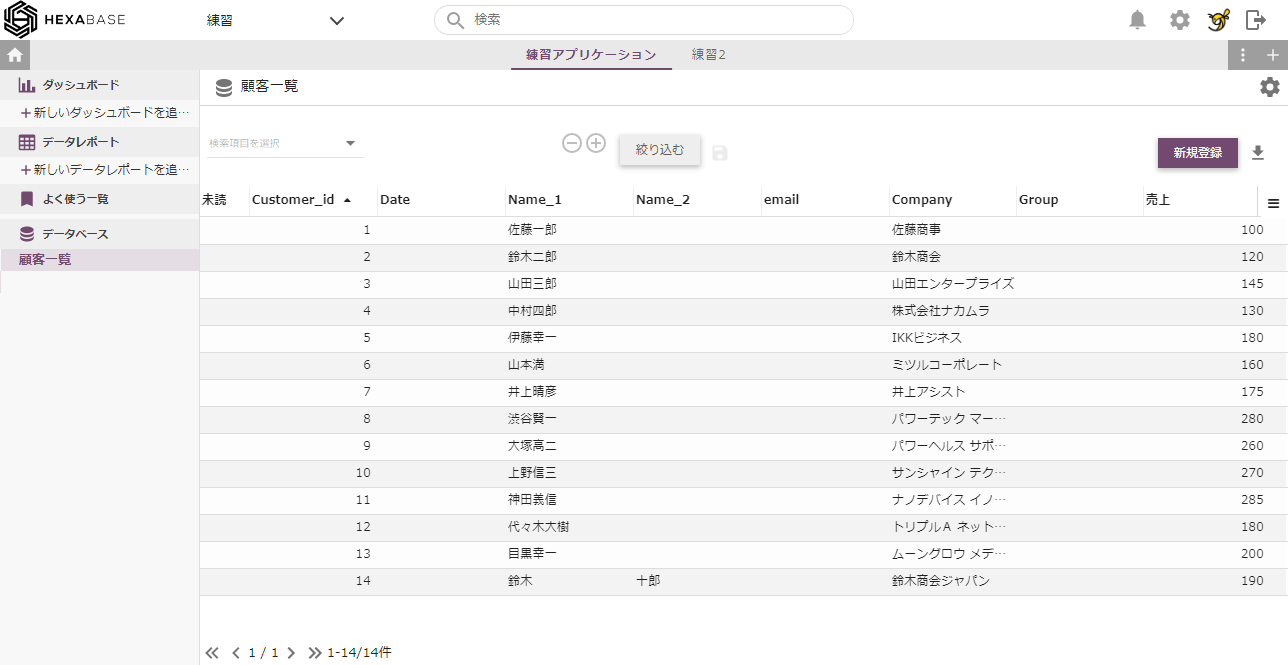
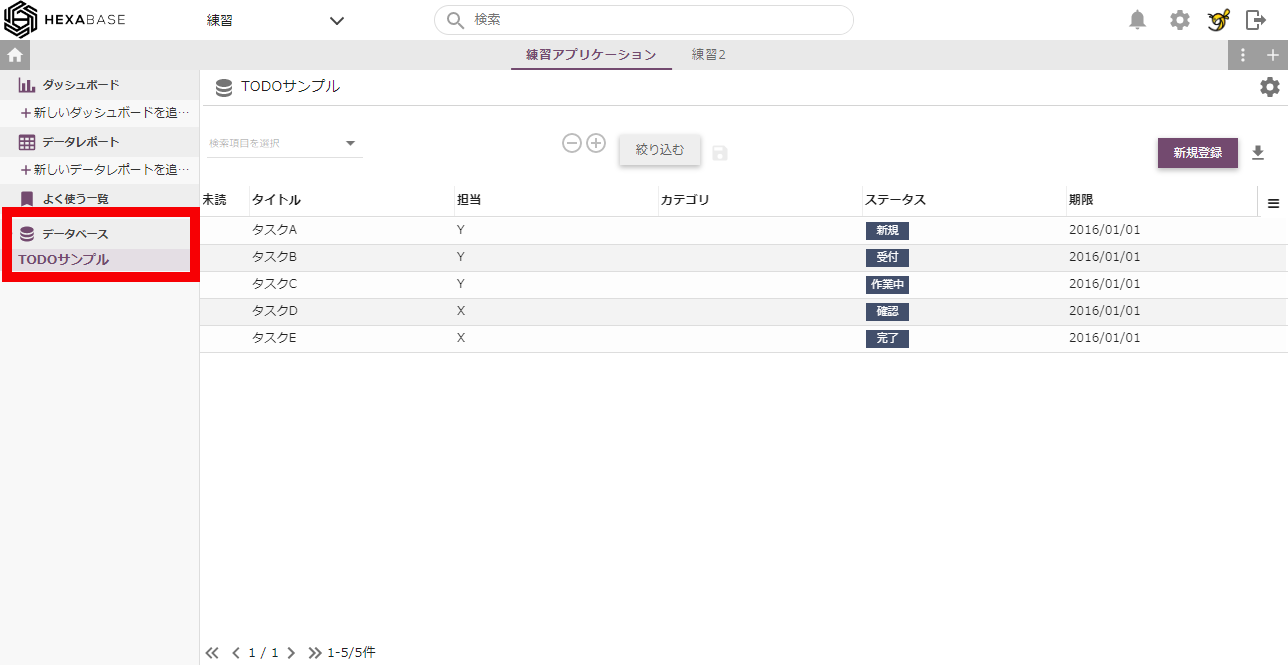
Switch database
You can switch the created database using database in the left menu.
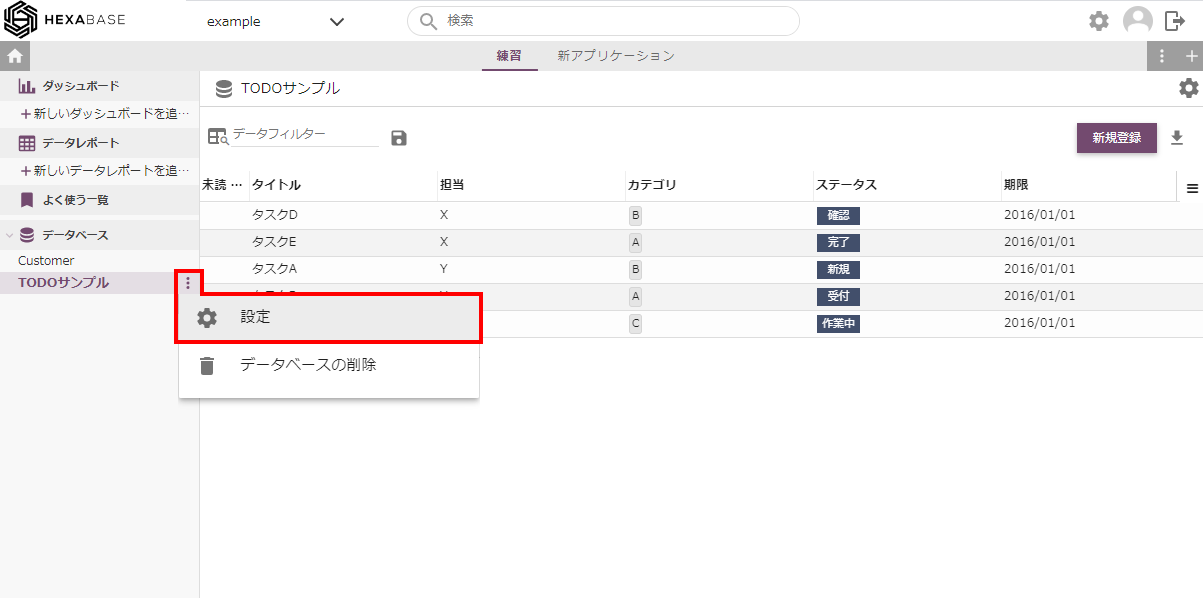
Set up the database
- Place the mouse pointer on the database you want to configure and click the [ ⁝ ] button.
- From the menu, select settings
This will take you to the database settings page. This page has "basic settings", "privilege settings", "data link key settings", "database related settings", and "mail capture settings" tabs.
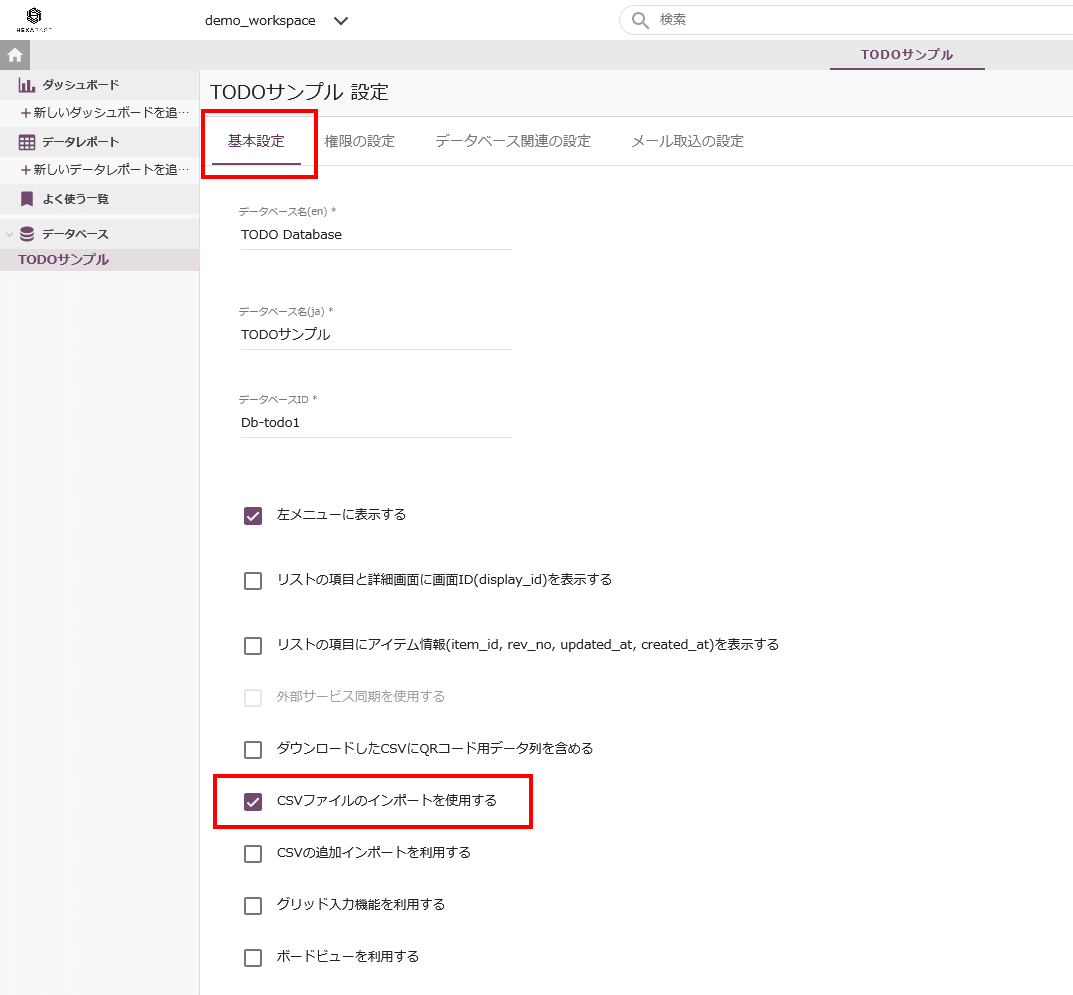
Basic settings tab
Perform basic settings for the database.
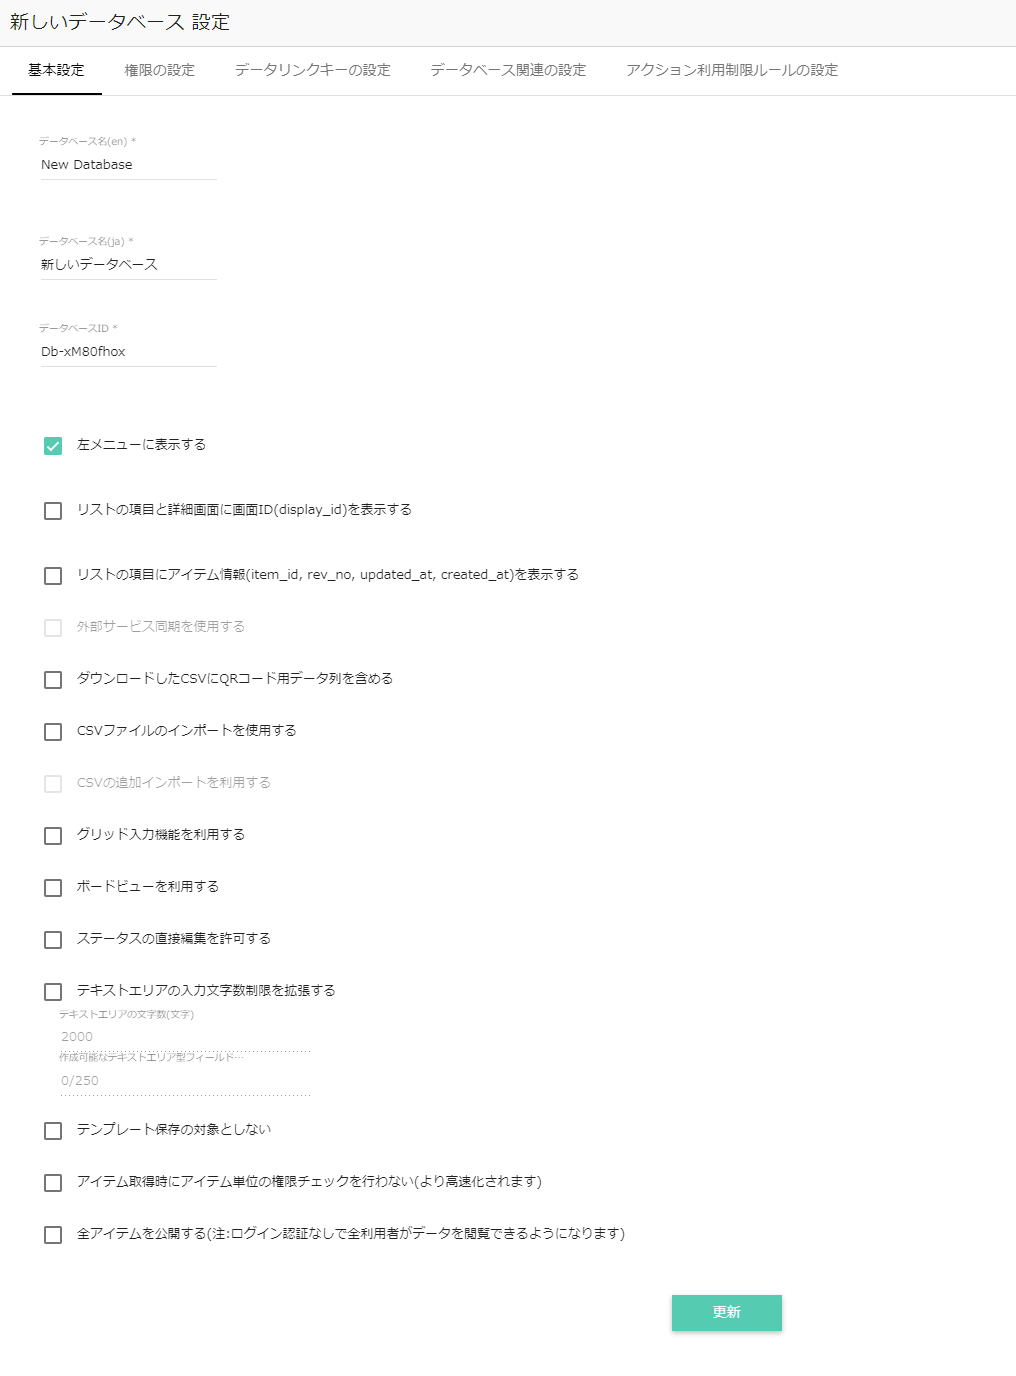
- Database name
- Database ID
- Display ID (display_id) on list items and details page
- Display item information (item_id, rev_no, updated_at, created_at) on list items
- Use external service sync
- Include data string for QR code in downloaded CSV
- Use CSV file import
- Take advantage of additional import of CSV
- Use grid input function
- Use grid input function as standard screen
- Use board view
- Allow direct editing of status
- Extend the limit on the number of input characters in the text area
- Not included in template saving
Permission settings tab
Specify the roles that can use this database. Users with the selected role can use this database.

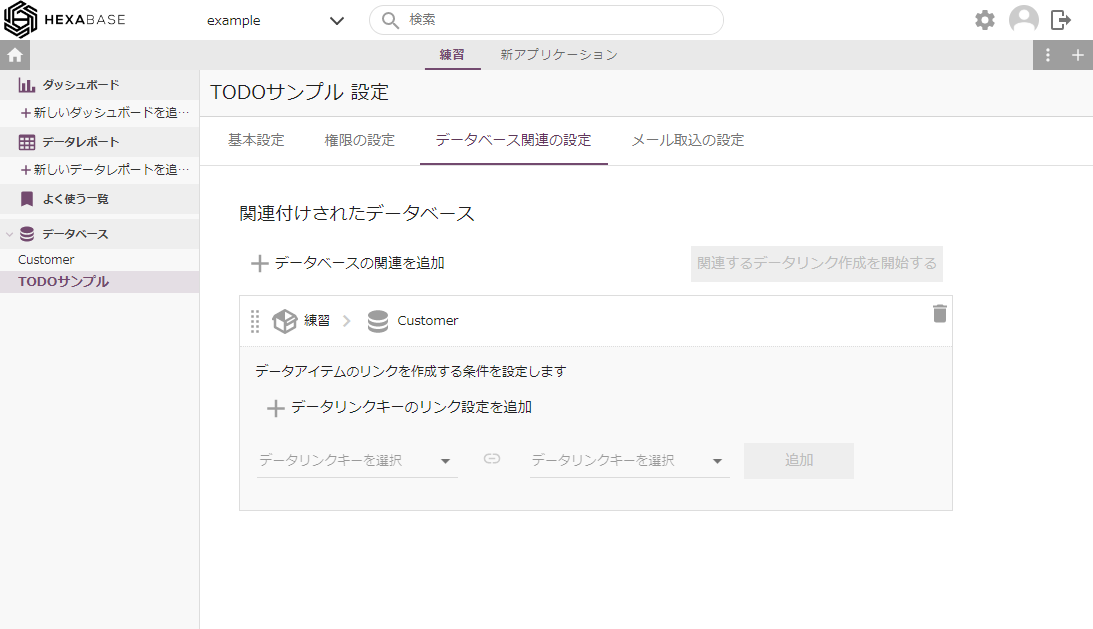
Database related settings tab
Use data link keys to set relationships between databases. For more information, see database relations
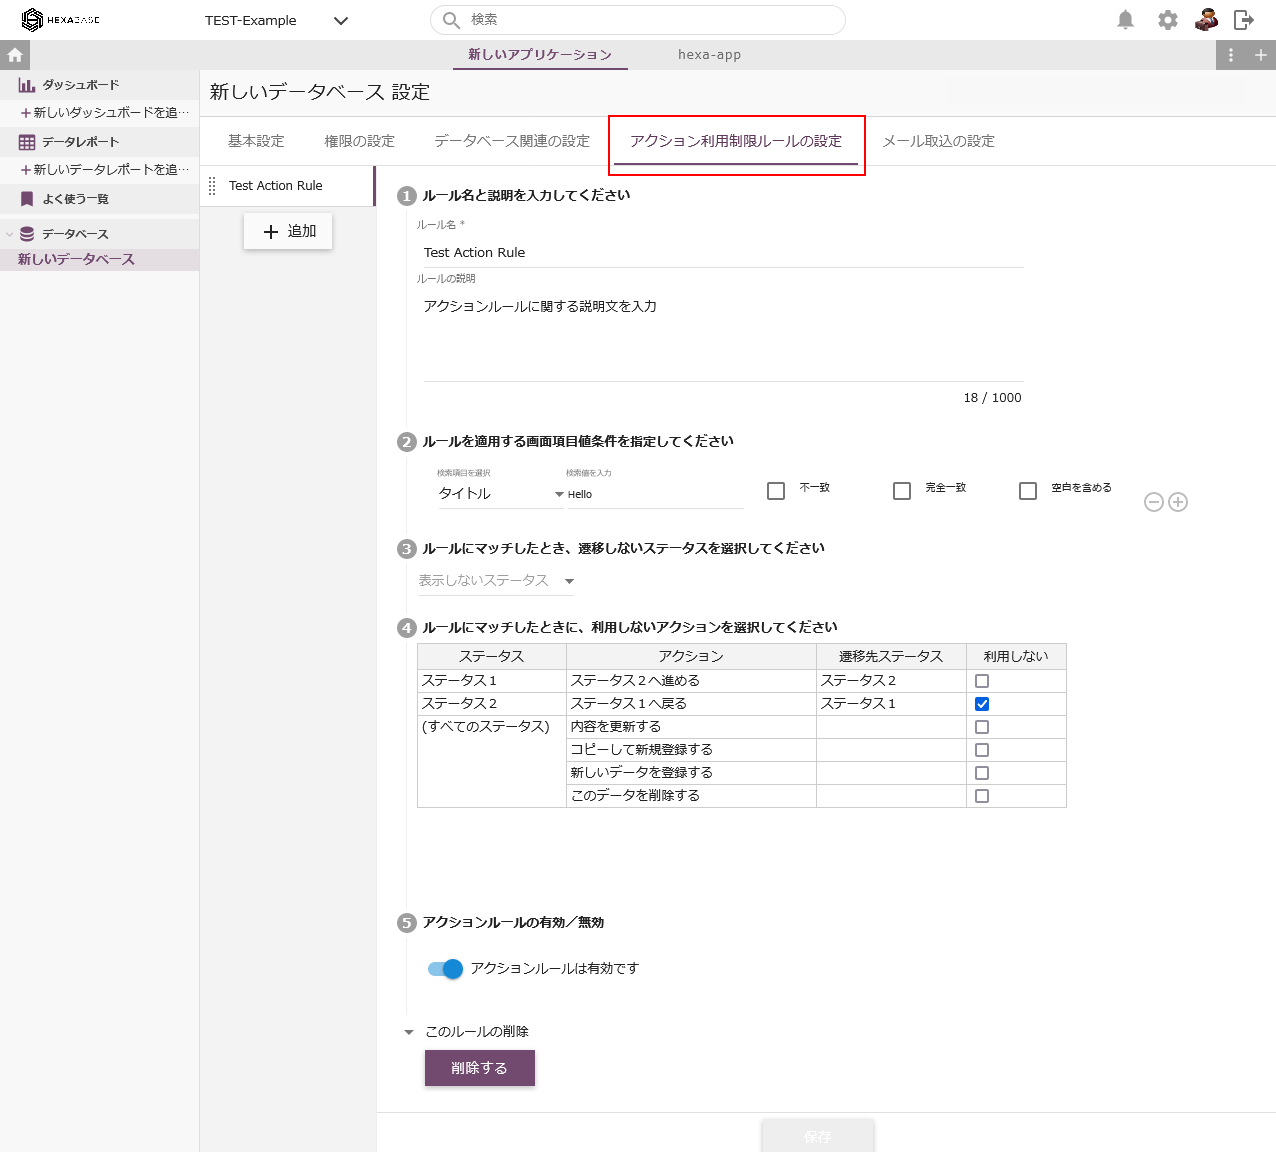
Action usage restriction rule setting tab
Controls the execution and display of actions. For details, please refer to restrictions on use of actions.
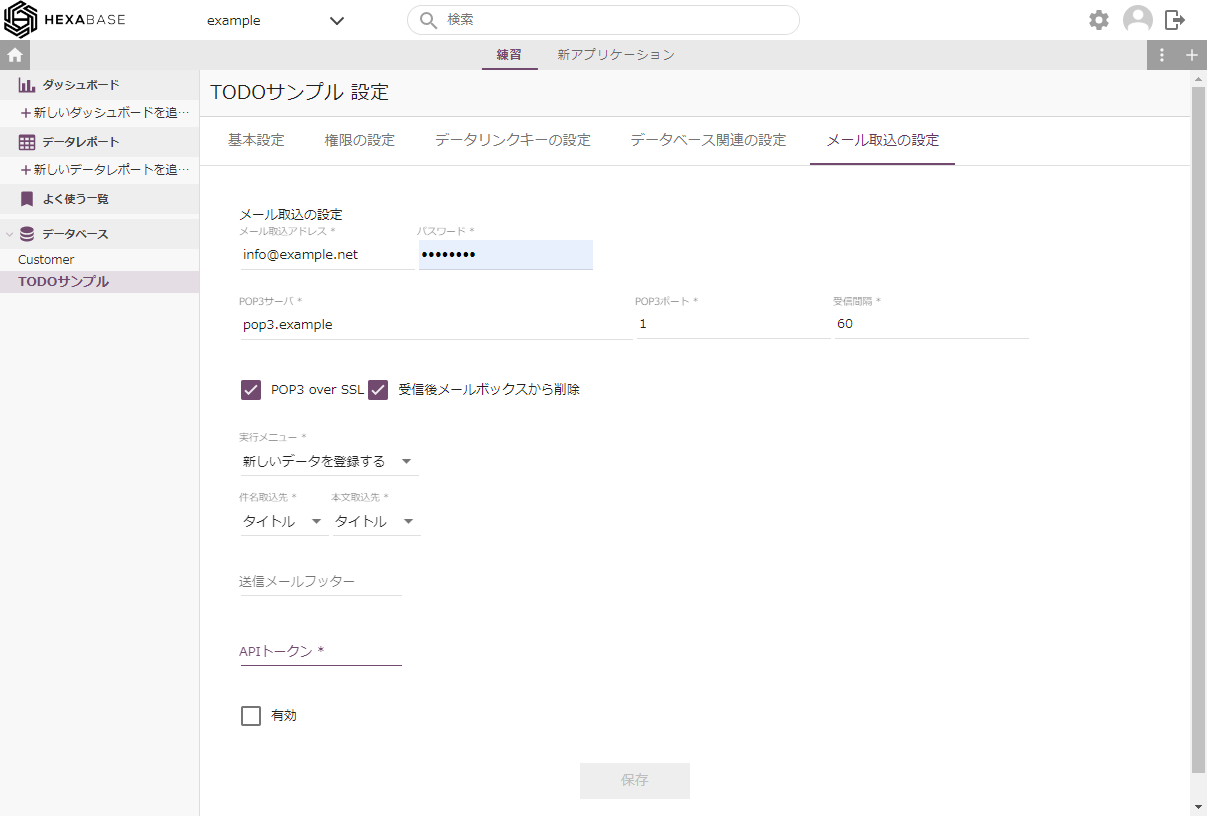
Email import settings tab
Import the content received by e-mail into the database.
Export and import
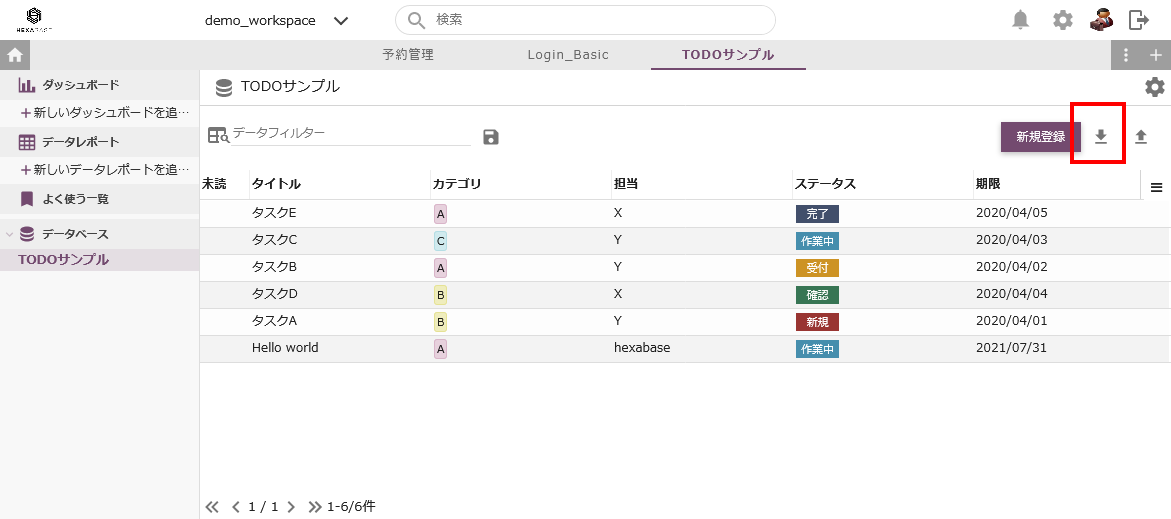
Export
Database data can be downloaded as a CSV file.
To do this, click "CSV download" next to the new registration button.
Import
You can upload CSV files to the database data.
To use this function, turn on "Use CSV file import" in "Database Settings" > "Basic Settings" in advance.
※ If you turn on "Use additional CSV import", you can partially add data to the database.
※ When performing additional import, you can grant group access rights to the item by specifying the group DisplayID in the group_id field.
Steps to import
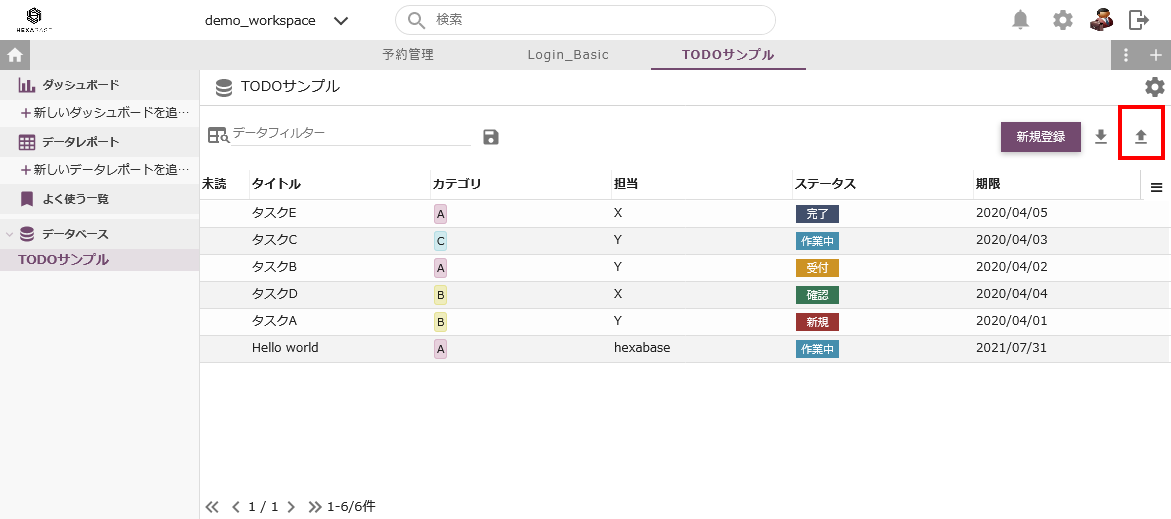
To upload a CSV file, follow these steps:
- Click "CSV upload" next to the new registration button
- Click "Download update CSV" to obtain the upload file.
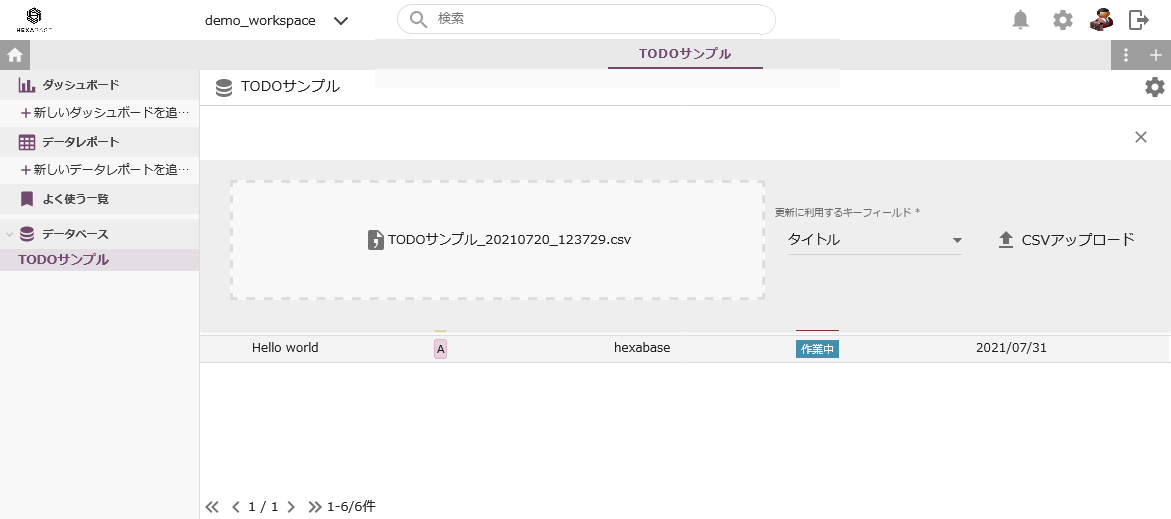
- Prepare CSV file for upload
- Drag and drop
- Click “CSV upload”
Delete the database
- Place the mouse pointer on the database you want to configure and click the [ ⁝ ] button.
- From the menu, select Delete database