Application Settings
Common settings for applications are performed in the application settings pop-up. The application settings pop-up has a basic settings tab and a role and participating user settings tab.
Call up application settings
- Switch to the application you want to configure
- Click the [ ⁝ ] button in the application bar
- Select application settings from the menu

- Application settings A pop-up will appear
Finish application settings
- In the application bar, click the current application name
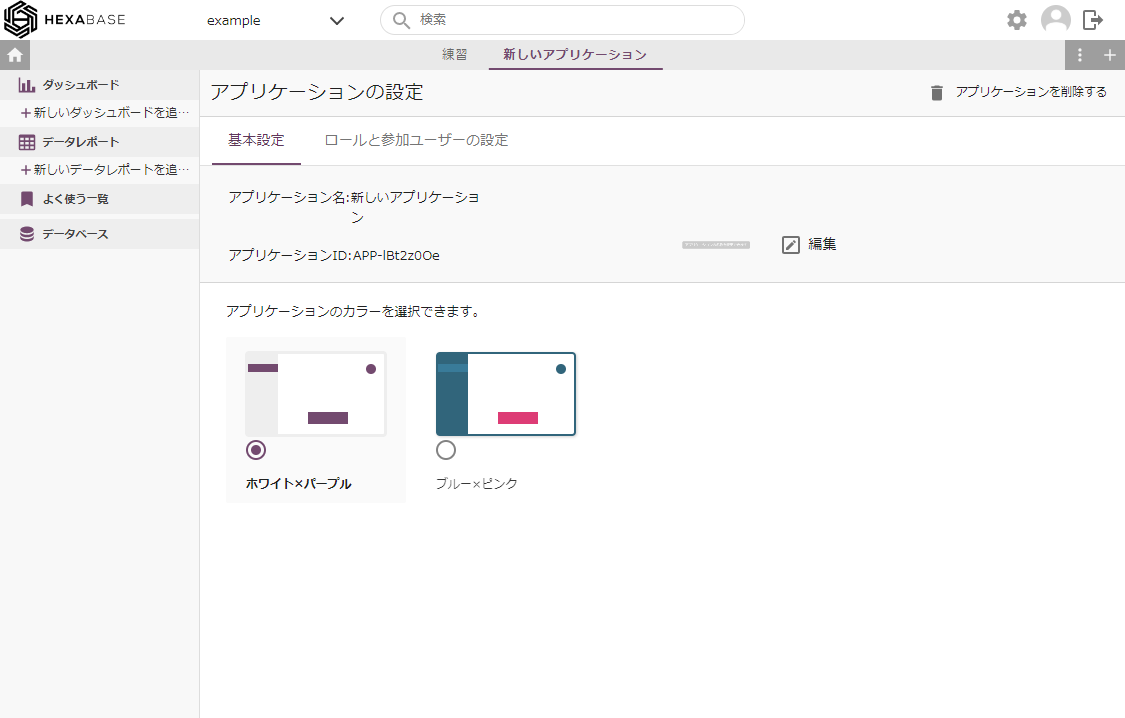
Application settings > Basic settings
The basic settings tab of the application settings pop-up allows you to set the application name and the application color(tint).
Basic settings > Edit application name
- Click the edit button on the application
- Change application name When the pop-up appears, enter the English (en) and Japanese (ja) for the new application name.
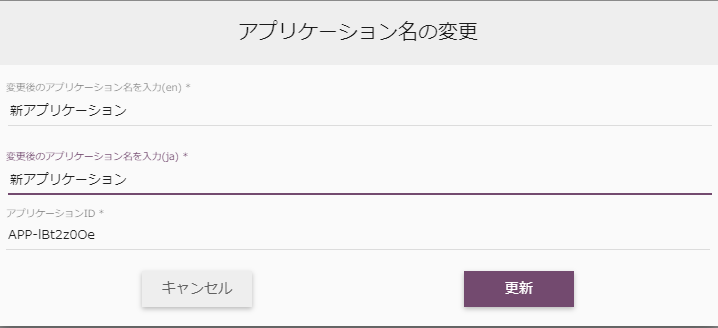
- Click the Update button
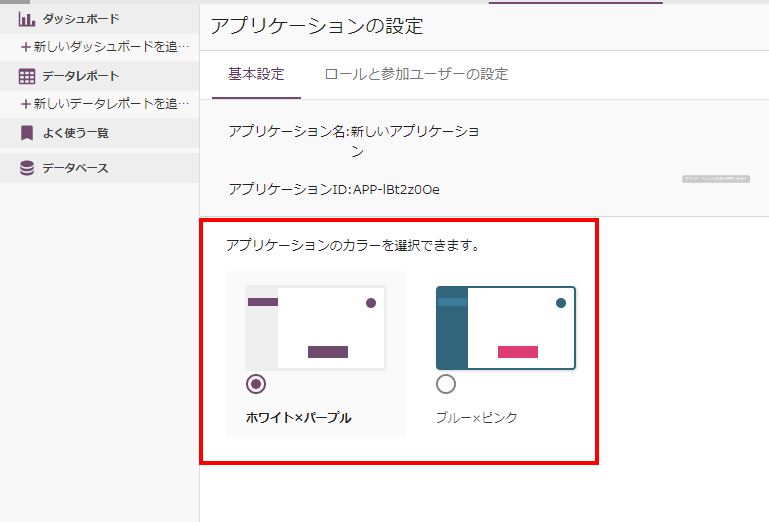
Basic settings > Change the application color
- In the *Basic settings** tab, select the color for your application
Basic settings > Delete application
- Click the remove application button on the application settings pop-up

- Are you sure you want to delete the application? When a pop-up appears, enter the application name for confirmation
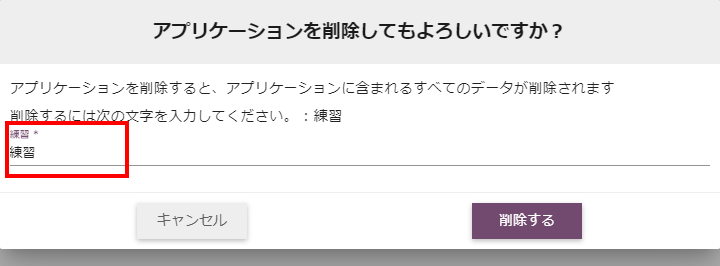
- Click the delete button
Application settings > Role and participating user settings
In the application settings pop-up, on the roles and participant user settings tab, you can set application roles (privileges) and application participant users.
Role is the authority to operate the Hexabase "application". You can create a role for each application, and assign roles that use the application in workspace groups.
Participating users are members who are registered in a workspace group and assigned to a role.
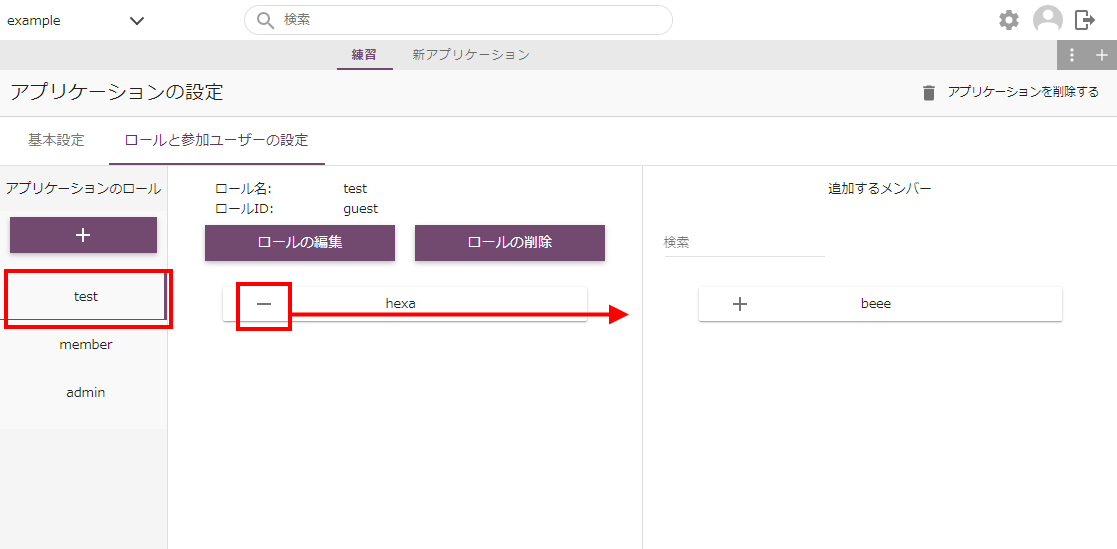
Role and participant user settings Tab
The Role and participant user settings tab is structured as follows.
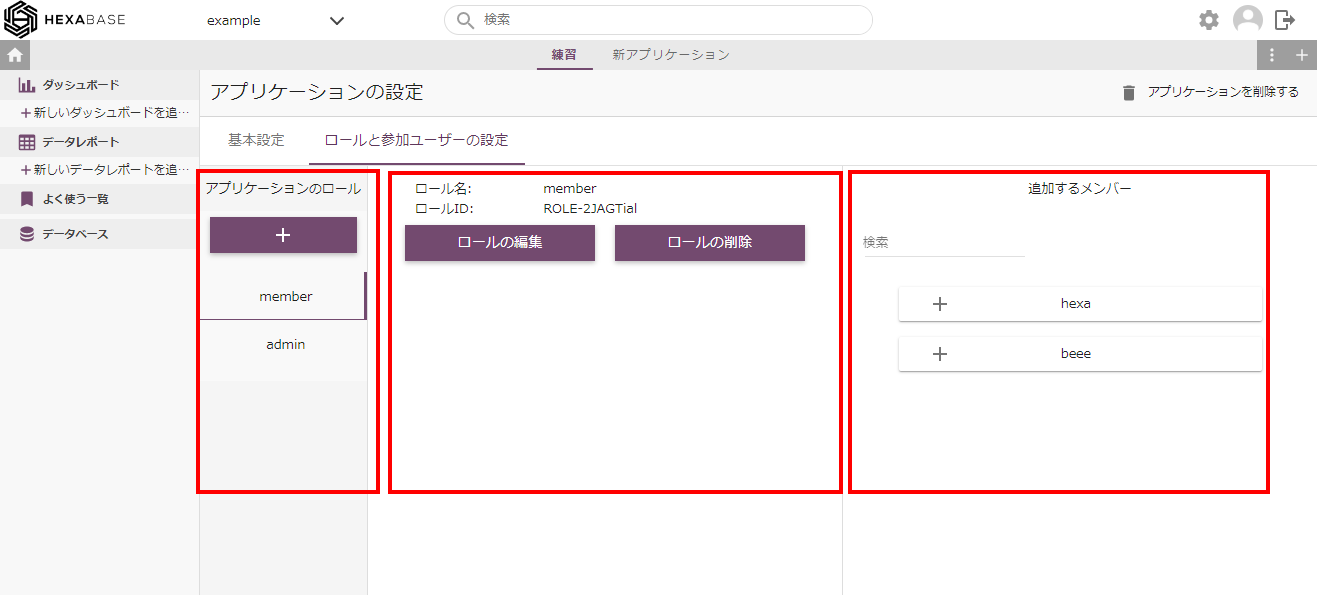
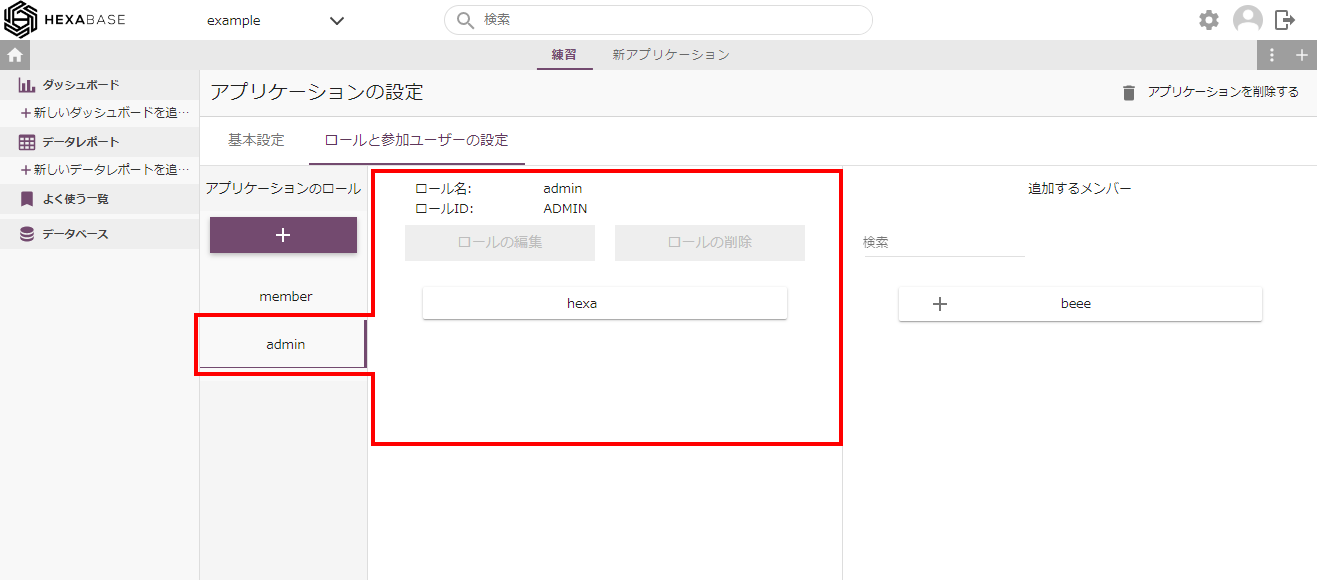
The left side shows the roles that the currently selected application has. The center displays the users participating in each role. The right side displays the users that can be added to a role.
- By default, the roles member and admin are added.
- Select a role to display users participating in the role in the center.
Add new role
- Click the [ +] button in application role
- Create role When the pop-up appears, enter the role name and role ID to be created.
- Click on the create button

Change role name
- Under application roles, click the role you want to rename
- Click the edit role button
- Modify the role name when the edit role pop-up appears
- Click on the update button

Delete role
- Under application role, click the role you want to delete
- Click the delete role button
- When the delete Role pop-up appears, click the delete button

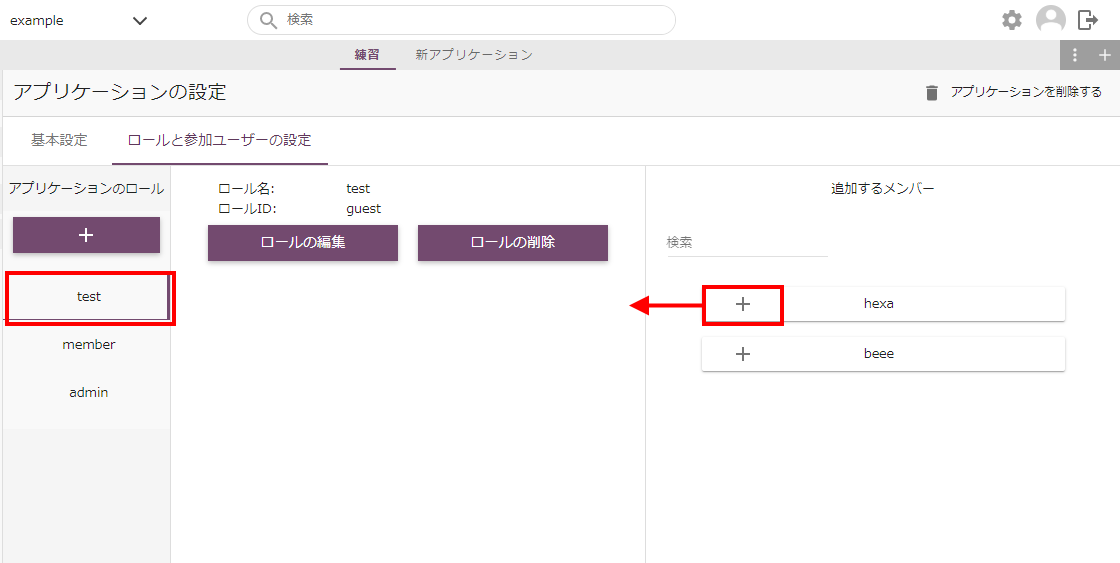
Add members to the role
- Under application Roles, click the role to which you want to add members
- Click the [ +] button for member to add
Delete members from a role
- Under application roles, click the role from which you want to delete members
- Click the [ +] button for Member to add
Search for users you can add
- You can narrow down the members you want to add using the search box.

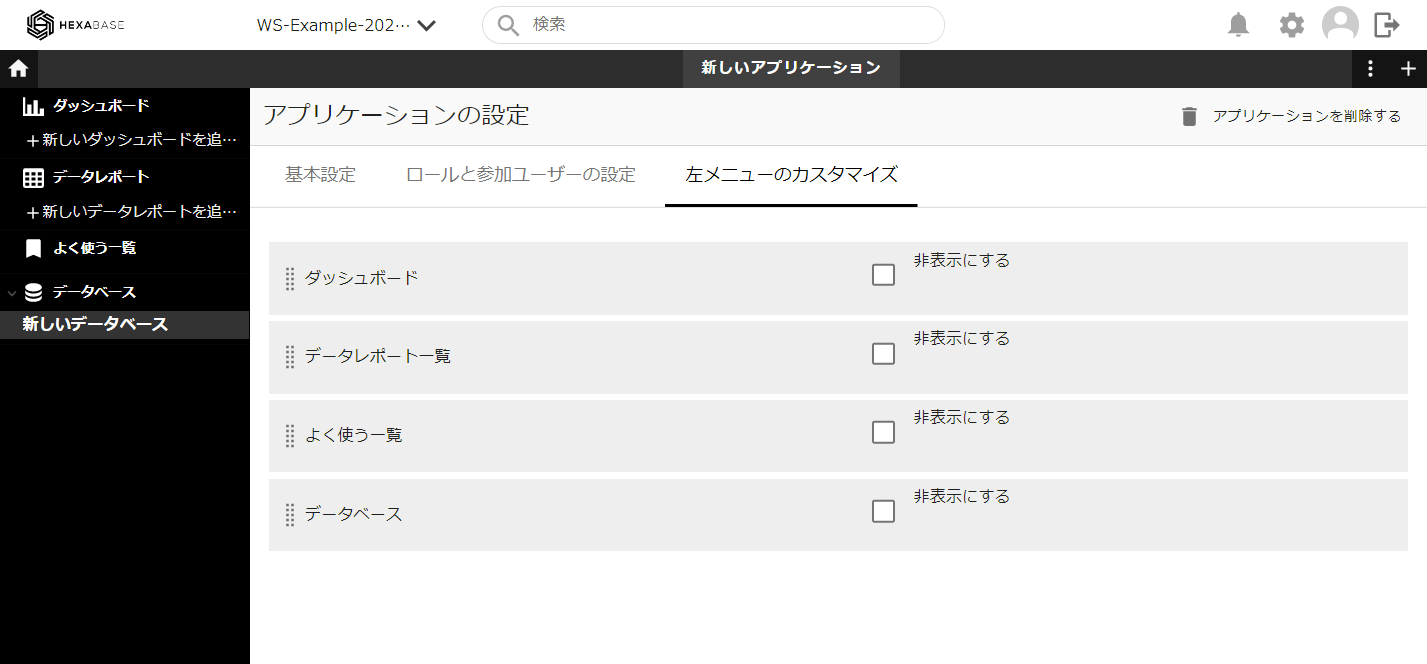
Application settings > Customize left menu
You can set the display order and show/hide the left menu of the management screen in application settings > customize left menu.